Skip to content
Waterfall Record
The Waterfall Record
Menu
Close
About Me
Australia
New South Wales
Queensland
South Australia
Victoria
Canada
Alberta
British Columbia
New Brunswick
Nova Scotia
Ontario
Québec
Croatia
France
Grenada
Iceland
Ireland
Japan
Mexico
Morocco
New Zealand
North Island (Te Ika-a-Māui)
South Island (Te Waipounamu)
Norway
Perú
Portugal
Azores
Flores
São Miguel
Madeira
Mainland Portugal
Puerto Rico
Slovenia
Spain
St. Vincent
Türkiye
United Kingdom
Northern Ireland
Wales
United States
Alabama to Florida
Alabama
Alaska
Arizona
Arkansas
California
Colorado
Connecticut
Florida
Georgia to Louisiana
Georgia
Hawaii
Hawaii (Big Island)
Kauai
Maui
Oahu
Idaho
Illinois
Indiana
Iowa
Kansas
Kentucky
Maine to Montana
Maine
Maryland
Massachusetts
Michigan
Minnesota
Mississippi
Missouri
Montana
Nebraska to North Dakota
Nebraska
Nevada
New Hampshire
New Jersey
New Mexico
New York
North Carolina
Ohio to Texas
Ohio
Oklahoma
Oregon
Pennsylvania
South Dakota
South Carolina
Tennessee
Texas
Utah to Wyoming
Utah
Vermont
Virginia
Washington
West Virginia
Wisconsin
Wyoming
Tag:
Seattle
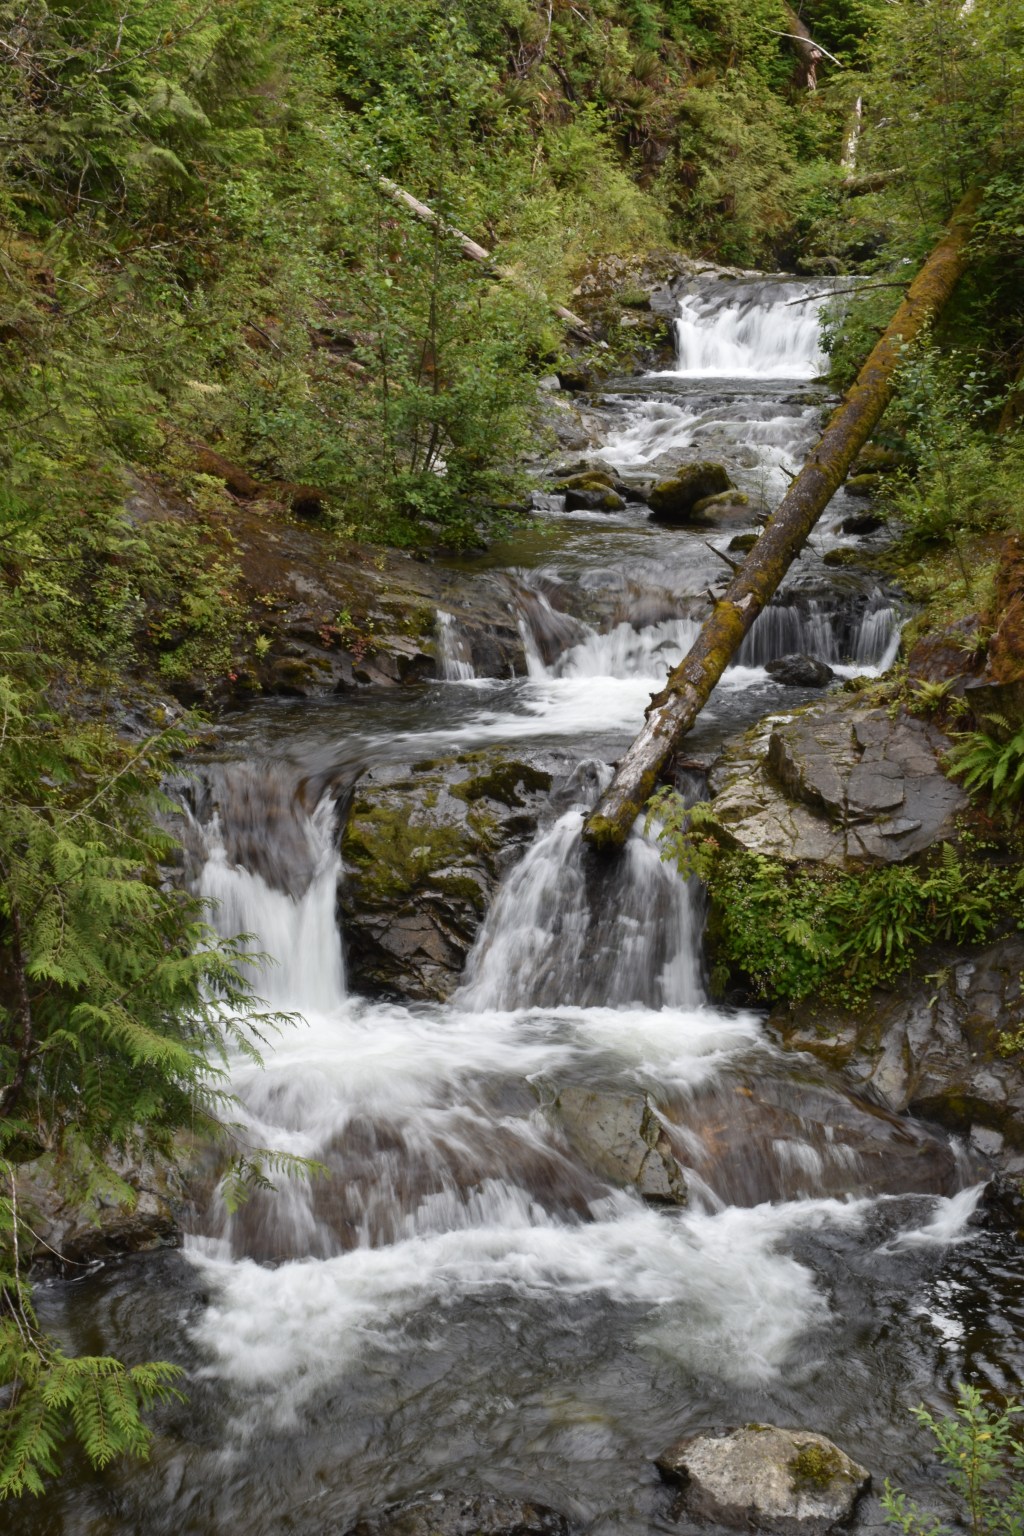
Gatton Creek Falls, Washington
Grays Harbor County
.
Olympic National Park
.
Washington
Mar 5.2026
Skookum Falls, Washington
Mount Rainier National Park
.
Pierce County
.
Washington
Sep 11.2025
Picture Frame Falls, Washington
Lewis County
.
Mount Rainier National Park
.
Washington
Jul 2.2022
Christine Falls, Washington
Mount Rainier National Park
.
Pierce County
.
Washington
Jul 15.2018
Upper Wallace Falls, Washington
Snohomish County
.
Wallace Falls State Park
.
Washington
Feb 2.2014
Snoqualmie Falls, Washington
King County
.
Washington
Jun 22.2009
Subscribe
Subscribed
Waterfall Record
Join 375 other subscribers
Sign me up
Already have a WordPress.com account?
Log in now.
Waterfall Record
Subscribe
Subscribed
Sign up
Log in
Report this content
View site in Reader
Manage subscriptions
Collapse this bar